Pages

Monday, October 21, 2013

...to Beat Grandma at Cooking: Pretzel Edition.

As far back as I can remember, where there is Grandma Judy, there is food to be eaten.  She likes to cook, and she loves to feed her family.  Growing up, our summer trips to California to visit Grams and Gramps were filled with homemade cinnamon rolls, fresh-baked cookies, and about ten extra pounds of body fat.  Without fail.  So when she found out I had been cooking more, and that I'd be trying out recipes with a higher factor for disaster, she wanted in.  What fun is cooking if you're always using the same old recipes?

So, as the title would seem to suggest, we had a little friendly pretzel-making competition.  We chose a recipe from the Brown Eyed Baker for some delicious-looking soft pretzels.  I gotta give her props for how perfect her pretzels look, both pre- and post-oven.  She made it look easy, which I suppose is the key to a good blog.  I should probably take notes.

I'm here to make it look as exactly as difficult as it is.  You're welcome.

What all good meals start with.
I'll start with the easy stuff, though.  Hard to mess up this first step.  Get a bowl, add the warm water, salt, and sugar.  Sprinkle a packet of active dry yeast on top and wait about five minutes.  It should start to foam a little.  We used the yeast from the fridge, however, and it was not "active dry" yeast, but Grandma Judy said it would be just fine.  I like to think this was the start of the problem (sorry, Grams!), although if we hadn't messed up there, I'm sure we would have elsewhere.

The beginnings of dough.
The next step is to make the dough that will later be transformed into [not so] beautifully shaped soft pretzels.  Throw the butter and flour in with your yeast water and pull out that dough hook attachment for your mixer. You know, the one you probably don't have and even if you do, you've probably never used it or can even picture what it's supposed to look like.  Yep, that's the one.

Okay, so we didn't use the dough hooks.
Amy's dough vs. Grandma's dough (she's beating me so far).

Once you've got your ball of dough, oil up a clean bowl (or the same bowl you've been using because you don't want to do extra dishes later), and let the dough rise for about an hour.  It should nearly double in size!  When you're ready to start forming the pretzels, preheat the oven to 450°.  Let the fun begin.  Put a lot of water and baking soda in a pot and bring to a boil.  This is where you will dip your pretzels after you form them and before you bake them.

Forming these bad boys is the part of the process that I am most impressed by in the pictures on the recipe page.  They look so perfect.  What she doesn't tell you about the dough is that as soon as you roll out that dough snake to as long as it could possibly be, and you let go to start the next one, it bounces right back to where it was five minutes ago, and your pretzel becomes this short, fat blob of dough that barely resembles a pretzel at all.

Divide into "evenly sized" pieces.
Check out that bounce-back!
  
We had to work really hard to get the pretzels to stay in shape when we dunked them in the baking soda water.  The first few fell apart, as you'll see in the pictures below.  I started doing a double twist to hold them together better.  Our slow, methodical baking prep didn't help this part of the process.  The water was a beautiful shade of yellow-brown by the time the last pretzel had been submerged, and I think it contributed to the burnt undertones of the final product.

That's definitely a pretzel.  Right?

After dunking, you're supposed to put them on parchment paper on a baking sheet.  I didn't have parchment paper, because who does?  So straight onto a greased sheet they went, and we brushed them with our egg yolk/water mixture.

Grandma's batch
Amy's Batch (I'm definitely winning at this point)

If you're like me, you like variety.  I didn't want to be stuck with twenty-four salted pretzels.  Especially since the salt I bought wasn't the coarse pretzel salt like the picture on the box made it appear to be.  I ended up trying to crush even bigger salt crystals Grandma had on hand, but like everything we tried to do that day, it wasn't as good as the recipe we were following.  So we created a variety of pretzel flavors.  Cinnamon Sugar.  Garlic.  Parmesan Cheddar.  Salt.  I had high hopes.

Yay, variety!

 And finally it was time to bake them.  By the time those pretzels went in the oven I was exhausted.  I thought I never wanted to make pretzels again.  Ever.  But when they came out of the oven and we tasted them for the first time, I knew it for certain.  

Remember when I mentioned short, fat blobs of dough.  Yeah.

I would, from that point forward, let all my pretzel needs be fulfilled by the professionals.  Thank you mall pretzels shops for existing.

Some actually did resemble pretzels!

Although we both pretty much failed to make good pretzels, I'll call this round Amy-1, Grams-0.  Maybe next time, Grandma!

So. Many. Pretzels.

Update:  Apparently kids aren't as picky, because my little cousins ate up those pretzels like they'd never been to a mall in their lives.  I guess we didn't do so bad after all!


Friday, October 18, 2013

...to Make a Cornhole Set.

I can hear them now.  Old people across the universe are asking, "What in the durn world is a cornhole?"  Well, I can proudly tell you, my grandparents know all about this so-called cornhole, and that is because I subjected them to weeks of watching me struggle to create one.  Gramps even helped a bit!  Now all you young'ns know what I'm talking about here, but for those of you who don't, cornhole is a "bean bag toss" style game, where teams try to get their bags in a 6-inch hole on a board about 27 feet away.  You earn three points for sinking your corn bag in the hole, and one point for landing on the board itself.

There are all sorts of how-to sites for creating your very own cornhole set (I used Cornhole-How-To), so when I friend of mine was looking to buy one (and they are not cheap), I thought I'd try my hand at carpentry before he spent all that money.  It was a long process, but it was so much fun!  My brother was in town that week, so he helped me gather supplies at Home Depot.  Here's what we needed:

-Four 2x4's, 8' long, for the legs and frame
-Two sheets of 2'x4' plywood, 1/2" thick, for the tops of the boards
-Four 3/8" diameter carriage bolts, 4-1/2" long
-Four 3/8" flat washers
-Four 3/8" wing nuts
-One box of 2-1/2" wood screws

I didn't have the right tools either, so I had to purchase a jigsaw.  I went for the cheapest one, about $30.  It was sufficient for the project.  I also picked up some replacement sandpaper for the electric sander, and some larger drill bits.  You'll want a few sizes, as the holes are easier to drill when you start small.  The largest you'll need is 7/16" (unless you can get the 3/8" bolt into the 3/8" hole...it's a tight fit, and I wasn't that strong).  You'll probably want a compass for the circle and some clamps for sawing and drilling, unless you've got serious multitasking abilities and super strength, which again, I do not have.

Time to start building!  After you finish reading this, hop on over to the how-to site I mentioned and follow their step by step instructions.  Mine will be a little less technical, and lot less helpful.  Sorry.

Building the frame.  Pick good wood.  I bought the cheapest, and it splintered a lot when I took the saw to it.  Cut your 2x4's into pieces.  Four 4' frame sides, four 21" frame ends, and four 16" legs.  Assemble the frame using clamps or have your brother hold the pieces together.  I recommend the clamps.  Use two wood screws in each end.  The final frame should be the same size as the plywood you bought.  The short frame pieces should be on the inside of the long pieces.  This is important.

One imperfectly completed frame.

The frame building step is also the step where you learn how important precision is!  If you zoom in on the above picture, you can see how my plywood does not quite line up with my frame.  This is because I used a jigsaw to try to cut the perfect edges you need on the 2x4's.  Consequently, I ended up with imperfect edges, and the frame was not the exact rectangle I wish it had been.  But you can't un-cut the wood, so move on!  Much like a child, your cornhole set will not be perfect, but you will love it anyway (I assume), because you made it.  You can only hope the second one you make will be better.  The frame, that is.

Attach the plywood.  The surface of the board should be smooth.  I bought the pre-sanded plywood, because it looked heavenly compared to the gross old splintery plywood next to it.  You can sand it yourself if you want to waste time.  Use the wood screws, about ten per board, spread evenly around the edges.  I found myself failing time after time to drill them all the way down, so I was left with a couple that stuck up out of the wood a little.  Learn from my mistakes.  Pre-drill a smaller hole first, or be stronger than I am and muscle those screws all the way down, a little past the surface of the wood, because you'll be filling it in with putty later.

Cut the hole.  Grab the compass you've had in the drawer since high school geometry.  Mark the center of your hole at 9 inches from the top and 12 inches from either side, then draw your circle.  Use the drill to make a small hole, just so you have place along the edge for the jigsaw to start.  Now actually cut the hole.  This part was terrifying!  All your work so far could be ruined right now if you don't cut a perfect circle.  I can't even draw a perfect circle.  I don't think anyone can.  Do your best.  Sand it down later!

Prepare the legs.  This part gets a little complicated.  If you're trying to build your own cornhole game, definitely check out the step by step instructions.  Basically, your legs need to prop one end of the boards to a height of 12 inches.  On each leg, use the compass to trace a rounded end, and then mark the spot where the center of the "circle" would be.  This is where the hole on the leg goes.  You're going to drill the hole on each side of the board by placing the edge of the leg about 1-1/2" from the inside edge of the frame.  Mark the spot on the outside of the frame to match up with the hole marks on the legs, and clamp the legs in place so you can drill through both frame and leg at the same time.  Did you follow all that?  You can attached the legs now, because you have to figure out where to cut the angle so they rest flat on the ground.  Then take the legs off again and saw away.  See, it's complicated.

Putty.  The savior of bad carpentry.  Putty your boards like there's no tomorrow. Putty the edges where the frame doesn't quite meet the surface.  Putty the surface to hide the screws.  Putty all the places you didn't cut right and the wood cracked.  Let the putty dry and sand the boards until they are satisfactorily smooth.  


What time is it?  Putty time!  Or 7am.

Prime time.  Get some primer and coat everything.  Everything.  This is the easiest part of the whole process.  Just let it dry long enough, so your final boards aren't sticky.

Painting.  You can paint the boards any way you like.  Semi- or high-gloss paint, some painter's tape, and a brush.  

White paint roughed in over the primer.
I opted for a design with a white arrow pointing to the hole, and a red background.

I later realized I recognized this design.

Don't smoke, kids.

Sewing the bags is pretty simple.  You need duck cloth fabric, and a ten-pound bag of corn feed for horses.  I actually had to go to a feed store for this, because regular pet stores don't carry it.  The bags should be 6"x6" when finished.  You will need four of each color.


And that's how it's done!  I now understand why people spend the money for quality cornhole sets.  But, it turns out, I am better at building the game than playing the game.  But that is another post for another day.

My beautiful imperfect child.

Wednesday, October 16, 2013

...Enchilada Cupcakes.

If only everything came in cupcake form, I think the world would be a better place.  Only evil people hate cupcakes, I'm told.  One - they're adorable.  Two - perfect for "portion control" (because we all stick to a single cupcake, right?).  And three - the possibilities really are endless!  

 White cupcake, apple pie filling, cinnamon frosting.  Delicious.
 Strawberry cupcake, cream cheese frosting, fresh strawberry topping.  Delicious.
  Chocolate cupcake, chocolate mousse filling, chocolate frosting.  The triple-threat.  Delicious.

But we don't have all day to make lists, here.  Let's get to the good stuff.  Dinner Cupcakes.  Craving dessert tonight, but can't break that diet just yet since you only started two day ago?  Have no fear, let Dinner Cupcakes help!  The feeling of dessert without all the calories!  Okay, maybe with all the calories, depending on how you make them.  But here's a meal that isn't so bad.  

 Enchilada Cupcakes.  Super delicious.

I adapted this recipe from the one here at Emily Bites, a girl who apparently loves cupcake dinners as well, because she's got a boatload of them.  And guys, guess what.  It's not that hard, and it's not that unhealthy, especially with some slight modification.  Follow along with me, or skim the pictures and try it yourself!

Gather all your ingredients.  If you're going for healthy, read the labels.  I check everything on the MyFitnessPal app when I'm making a meal like this, and then I know exactly how much I'm allowed to pig out.  Because I undoubtedly want to.  Here's what I used:

-1 pack 93/7 Ground Beef (instead of chicken, because I'm lazy)
-Undetermined amount of Reduced Fat Shredded Cheese
-12 Won Ton Wrappers
-The amount of Onion shown in below photo, leftover from another meal 
-Half can of Enchilada Sauce
-Garlic from a bottle (again, lazy)
-Green Chiles
-A big Pan
-A Cupcake Pan, coated with cooking spray

The good stuff.

Preheat the oven to 375° and get out your big pan.  Use a little Pam and cook your ground beef, together with the onions and garlic.  I add onions and garlic to basically every meal I cook.  You really can't go wrong with them.  I didn't have scallions as the original recipe called for.  To be quite honest, I wasn't even sure what they were, so I Googled them.  Some chef I am, huh?

If you can handle a little multi-tasking, step away from your big pan o' beef and cross the kitchen to your cupcake pan, which you have already greased up.  Because Won Ton wrappers are a little carbolicious, I forewent the double-layer and opted for a single wrapper per cupcake instead.  I really believe it was just as good.  As you can see, the size is fine.  You'll still have a full cupcake at the end.  Make sure to press them down into the pan, as you want maximum meat space.

A single Won Ton Wrapper will do just fine.
Once your meat is mostly cooked, add the enchilada sauce to the mixture.  I used green, but I'm sure red is good too.  I'll probably stick to green, though, since it worked so well for me.  Helpful hint: make sure you don't overcook the meat!  It still has to go into the oven for twenty minutes.   

Meat, Onion, Green Chile, Enchilada Sauce.
Fill each wrapper with a couple small spoonfuls of beef, then sprinkle your cheese of choice on top.  This is the first layer.  Ready to move on the the next layer?  I'll make it easy.  Repeat the first layer.  You're done.  Pop them in the oven for 18-20 minutes, and keep an eye on them.  The won ton wrappers will be a nice golden brown, and crispy too!


Ready to bake!
Okay, here's the icing on the [cup]cake.  While these are baking, let's whip up a quick avocado salsa.  This is my new guacamole replacement.  It is so good.  And so easy.  Start by dicing up a whole avocado and a quarter of a red onion.  You can use less, if you're not a true onion fan.  But you must use a little!

The stuff.
Mouth is watering...
A couple squirts of lime juice from a plastic lime, salt and pepper, and a little cilantro are all you need to complete the dish.  Toss together in a bowl, but don't mash, or else you've just made guacamole, and that's just not what we're about here.

Ding!  Your enchilada cupcakes are done.  Your avocado salsa is prepared.  Your stomach is growling.


Enjoy!

Monday, October 14, 2013

...to Save Money by Shopping at Garage Sales.

There is almost nothing I love more than getting a lot of stuff for a little amount of money.  It doesn't matter what kind of stuff.  It's all about the savings in the end.  Of course, that means I have a lot of stuff I probably will never wear, use, or even look at.  But if I got a good deal on it, totally worth it!  Okay, I may have a problem.

Nothing brings out my love of being cheap more than the semi-annual neighborhood garage sale.  The weather is beautiful.  Bright and shiny, but not so warm you're sweating all over your already-probably-sweated-on [not so] new clothes.  I look forward to it for weeks.  I almost never carry cash with me except for special occasions, and believe you me, this day would be special.  I planned to get up around 7:30am to hit all the sales before the good stuff was gone, but I ended up getting a much later start.  But still, even at 9:30, I managed to find some real treasures.

I started the morning with $15.00.  It's usually enough, unless I find a big item, like my suede-cushioned wooden stool from a couple sales ago.  So comfy, so practical.  I shelled out eight whole dollars for that one, and it was worth every penny.  But on to my recent finds.

Everybody wants to get rid of books.  I don't get why anyone would want to get rid of these gems, but there they were on the big table marked "Free," and the only thing better than cheap stuff is free stuff.  My bookshelf is already full of books I'll probably die before I ever get a chance to read, but you can never have too many books.  The One Good Deed a Day book is actually a cute little journal-style book with daily "good deeds" you're supposed to accomplish.  Since I'm not really the "good deed" type, this book is for my grandma.

Grand total for books: $0.25 (one of them wasn't on the free table, so I splurged)
Glade mini candles for only $0.50.  Which is, according to Amazon, a great deal!  They are probably last year's holiday collection, but a candle is a candle, and I'm not one to be snobby about outdated scents.

Smells like Christmas!  Only $14.75 left.
Okay, this next sale was a little weird.  They had at least thirty of these scarves, all in plastic packaging, in every different color.  It's not really my style, especially since it's almost always too hot for scarves here, but my family up in Portland is all over scarves.  Hello, $2.00 Christmas gift (surprise!).  But even weirder than thirty scarves, were the massive amounts of the As Seen on TV Genie Bra and, I kid you not, no less than fifty of the same long sleeve white baby sweater.  What?!  Oh, and swimsuits.  I would advise not buying swimsuits at garage sales.


Lovely on chairs and people alike.  $12.75 to go.  
Clothes!  I had good luck at this house last time.  This lady tends to buy clothes she will only wear once, if even at all.  I got a nice shirt with tags still on it for only $1.00.  Score!  This time she had her fancy clothes out, and while I think she overcharged, you can't argue the fact that they were still a great deal.  I went for it.  And the best part, everything fit!

Shirt for a dollar!

Dress for three dollars!

Two more dresses for three dollars each!
If you're keeping track, I've now spent $12.75.  Add in this pomegranate from the neighbor...because when a neighbor is selling pomegranates, you buy a pomegranate, even if it's a whole dollar...and my grand total comes to $13.75.  Well under my $15.00 budget.  A successful garage sale day, yet again.

What can you make with a pomegranate?  Suggestions?

Friday, October 11, 2013

...to Make Donut Holes after Two Margaritas.

Have you ever been to happy hour at On the Border?  I am here to tell you it is spectacular.  Go for the chicken empanadas and strawberry margarita(s).  I went a few weeks ago, and mostly it was spectacular because of the cheap prices and good company, but definitely worth a trip.  So I ate a lot, and a drank a couple margaritas, and after all of that, we still wanted dessert!  Okay, mostly I wanted dessert, but no one complained.

Now, I don't drink often, and when I do, I don't have that much.  Drinking is expensive.  But I'm all over happy hour when they've got strawberry margaritas.  I wasn't drunk.  I was a little "tired" and a little not myself.  A little more happy and ambitious than usual.  We all went back to the house, and I insisted on making donut holes for everyone.

I've done it before.  It's not that hard.  My go-to recipe is here.  Basically it involves mixing a bunch of ingredients and then dropping spoonfuls into boiling oil.  Normally they look like this:

Okay, maybe not this perfect.  These are not the ones that I made.
As I danced around the kitchen throwing inaccurate amounts of ingredients into one big bowl, I thought to myself, Two margaritas + dancing + boiling pot of oil = awesome.  Now don't worry, I didn't get any major burns.  Maybe a little oil splatter here and there as I dropped in my too-runny donut batter from a little too high, a little too excited about making these donuts.  

Well, I had the oil way too hot, for starters.  The donut holes began to burn after like, seven seconds.  Also, because the batter was so runny, it fell from my spoon in a fine drizzle which became brown immediately upon entering the too hot oil.  Consequently, I was left with what looked like some sort of stringy root, or perhaps deep fried rodent.  I think I see a squirrel in there.

My very special potato-root-donut-hole-cream-filling surprises!
Oh, and because they burnt so fast, I took them out too soon.  The insides were basically liquid because they didn't have time to cook through entirely.  My friends actually asked what I filled them with.  At least batter is tasty, raw egg and all.  If you ever plan on making donut holes, here's a helpful hint:  Fill a big Ziploc bag with cinnamon and sugar and throw the donut holes in there after you let them cool a minute.  It hides burnt flavor and makes them look a little more like dessert and less like balls of overcooked dough (not that you can tell by the picture).

Cinnamon/Sugar forgives all sins.
We ate every last bite.

Wednesday, October 9, 2013

...to Impress Her Softball Team with Cake Pops.

Once upon a time, there was a nearly-mythical dessert known as the Cake Pop.  It only existed in high-end social circles, Starbucks pastry windows, and on the food channel.  No one with my level of cooking skill would ever attempt the elusive Cake Pop.  And then, one day, everything changed.  I went to a party.  A party with a single, beautiful platter of cake pops.

Okay, so "party" isn't really the word I should have used.  It was a jewelry event for a charity that provides jobs to women who were saved from the sex slave trade, and I went with my grandma and aunt.  But nevertheless, there were cake pops.  I had to have one.  No, I had to have more than one.  Five is more like it.  And there were no professional chefs at this event.  Only middle-aged to quite elderly woman.  Could it really be?  Could normal folk like myself create such delightful little balls of such rich flavor and texture?  They could!

I could.

I had to try it.  Here's what I pictured in my head (and I think this is actually a thing):  A pan, similar to a cupcake pan, but with little spheres instead.  Yeah.  That's not how real cake pops are made.  It's much more complicated.  But again, I say, I could do this.  And here's the story of how I attempted to impress my co-ed slow-pitch Thursday night softball team of champions.  Three-time champions.

Wife Beater Night.  Yes, we have themes, and yes, we are awesome.

I volunteered to bring snack last week.  Yes, that's right, we are like children who need snacks after a t-ball game.  Our team name is actually 
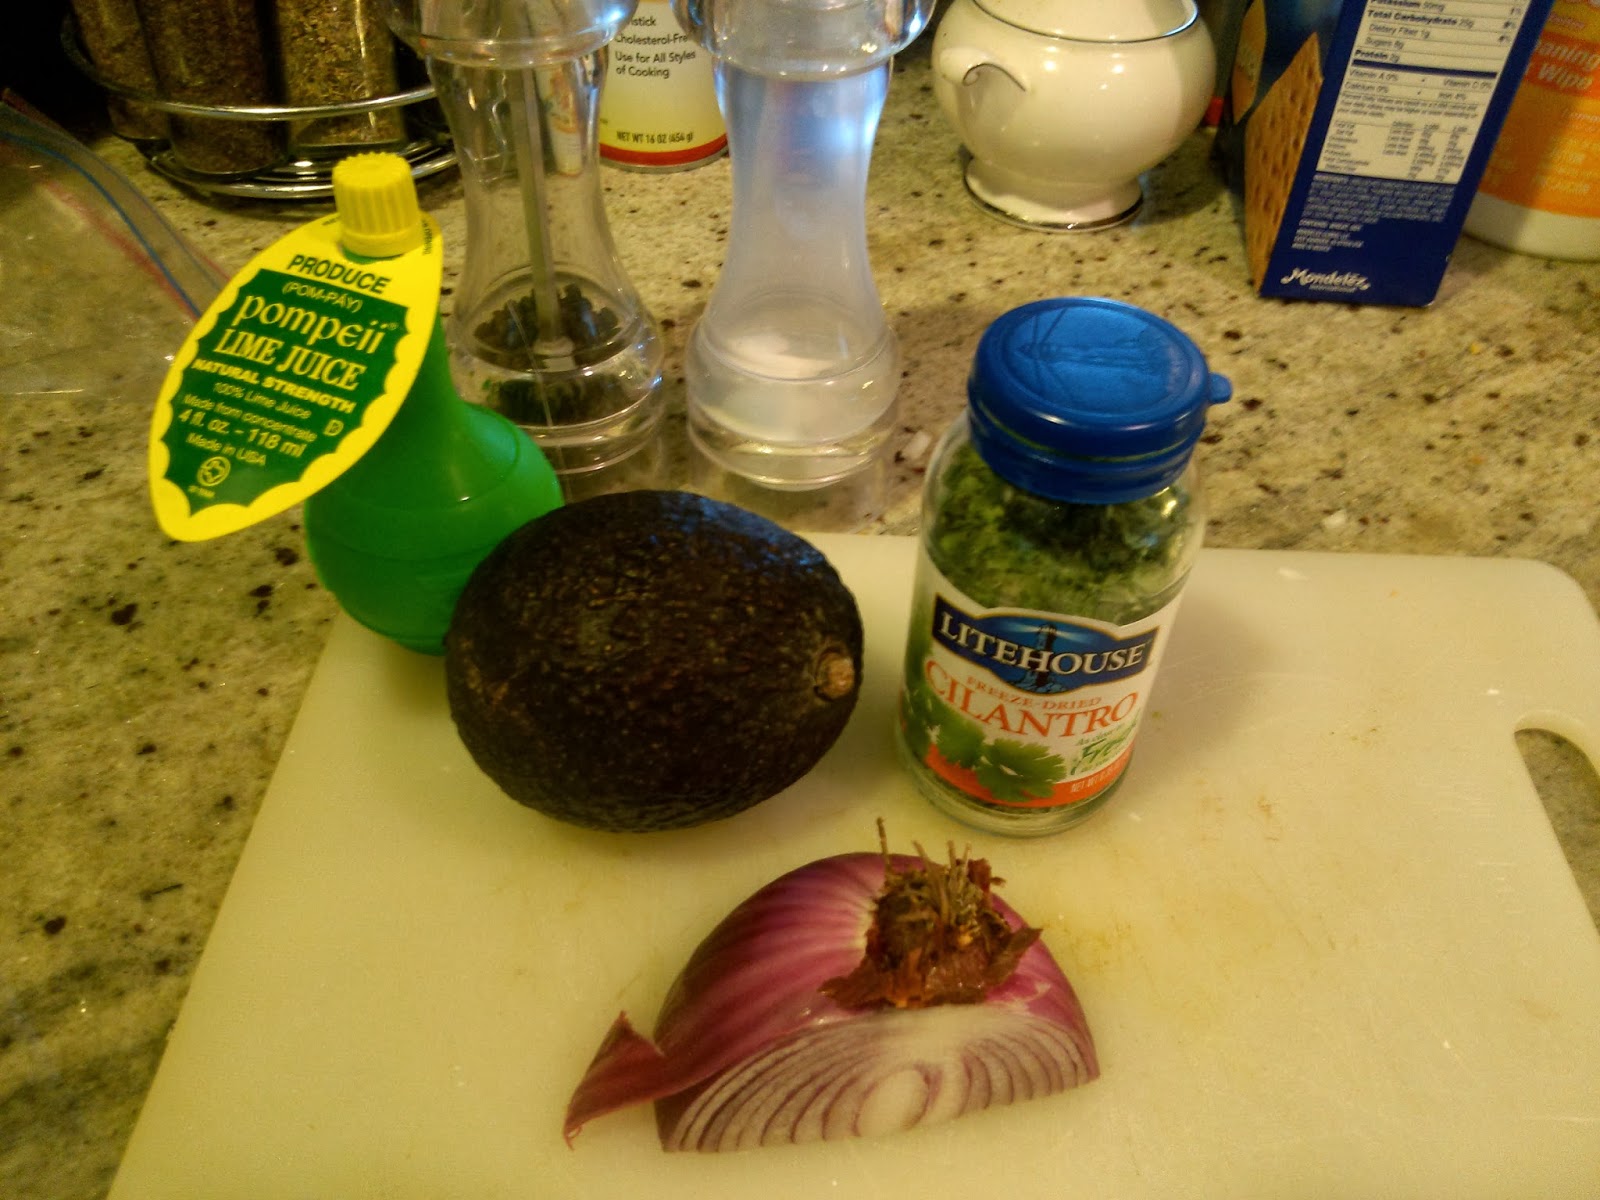
Here for the Snacks.  What better to bring for snack then tiny softball-shaped cakes?  I pictured the perfectly round white balls with cute little red icing seams.  The team would love them!  I started the project the day before the game, just in case anything went wrong.  But of course nothing would.  Of course.  Here's what you need for the pops.

Any cake mix, frosting, or chip flavor will do.  Seriously, have fun with it.
The first part is super simple.   Follow the cake mix recipe on the box, or get creative.  I love to add cinnamon and a little vanilla to my yellow cake.  Basically no-fail.  Unless you burn the cake.  Don't burn the cake!   Also, let it cool completely before you move on to the next step, if you have the patience.  I usually don't, but the law of cake pop making says you should.  While you wait, why not do some flavor research.

Now that the cake has had sufficient time to cool (you've been lost on Pinterest for hours, haven't you?), it's time for some destruction.  Bet your mom never let you grab fistfuls of fresh-baked cake before.  Well I'm here to tell you it is okay!  Crumble it to pieces...or crumbs to be more exact.  Add in your frosting of choice.  Start small!  You can always add more, but believe you me, you cannot go back from too much frosting.  Mix it in with your hands.  Taste the results.  Adjust accordingly.  Keep in mind, cake pops are freakin' rich.  You're going to be adding a hard chocolate shell later.  Don't overdo it with the frosting.

Crumbled up cake.  Simple.  Just add frosting.

Throw the bowl in the fridge for a couple hours, or in the freezer for not a couple hours.  You need the mixture to be roll-into-balls-able.  We aren't making sloppy pancakes here.  Although...now I'm hungry for breakfast.  But back to the balls.  You want these to be about one inch in diameter.  Mine usually end up bigger because I can't eye-measure well.  Roll them out, put them on a pan, and clear some space in the freezer (because you're really impatient to finish this project at this point).  About half hour in the freezer should be enough.

Melt a tiny bit of your chips, dip the ends of the sticks into the melty chocolaty goodness, and insert into the semi-frozen cake balls.  Hopefully this makes them stay put when you go to do the final dipping.  I'll be honest, I have not perfected the final dipping part.  Okay, put them back in the freezer for a little bit.

Progress!

Melt your chocolate.  You can use regular chocolate chips, white chocolate chips, etc.  Or you can use candy melts, which I've had more success with, but you can't buy them at Target, so why even bother, right?  Target is my go to store for any and all food, clothing, and other needs, by the way.  So the chips...melt them.  Follow the directions on the bag or I promise you, you will ruin the chocolate.  I've done it like a thousand times.  You can microwave or you can double-boiler that stuff, just do it right.  Once its melted, move fast and dip the cake pops.  It's harder than Starbucks makes it look.

Dip. Twist. Remove. Sprinkles!

I told you I wanted cute icing softball seams.  But what I got instead were these dorky-looking things:

That's right.  It says "Sparkle Gel."  My pops got character.
And despite the way they looked, my generous softball team ate every last cake pop that night.  Now if only I could impress them with my softball skills.

Oh yeah, do you wanna see what happens when you melt chocolate wrong?

This was burnt melted chocolate.  I added milk to try to salvage it.  It made it greasy and it refused to stick to the cake pops.  Don't add milk.


Friday, October 4, 2013

...Whiskey BBQ Sliders.

It was about 9 o'clock last night.  Hunger struck, and it struck hard.  First Dinner (or Healthy Dinner, as I sometimes call it) had come and gone earlier than usual.  I promise I don't have two dinners every night, but when the mood strikes, sometimes you just have to go for it.  And this time, I put in a little extra effort.  Earlier in the day I came across a recipe for Spicy Whiskey BBQ Sliders, and these tiny burgers had me drooling.  And daydreaming.  And craving.

I had planned on trying out this recipe over the weekend; burgers usually end up somewhere on the What to Stuff My Face with This Weekend top ten list.  Okay, there isn't actually a physical list, but I'd be lying if I said I wasn't waiting eagerly all week to chow down on something tasty as soon as Sunday afternoon arrived.

So I threw out that silly idea that burgers were only for weekends, and I made those sliders like there was no tomorrow!  And when tomorrow (today) actually came, I made them again!  They were that good.  I'll admit, I did not read the whole thing until after I made the burgers the first time.  I based them mostly on the pictures and the ingredients I actually had.  And here is what resulted:

[Not So] Spicy Whiskey BBQ Sliders - Take 1

Take 1 did not involve many pictures.  This was spur of the moment.  So I threw some olive oil in a big pan, formed some ground beef into tiny patties.  Generously topped with salt and pepper.  Burgers in pan.  Cook til appropriate burger consistency is achieved.  You get the idea.  I'm not really the "measured and timed" type.  It's all pretty much guesswork when it comes to cooking.

But here's where it gets good.  Onion.  Whiskey.  Barbeque sauce. A few green chiles (because I didn't have jalepenos, they weren't quite the Spicy Sliders they should have been).  I threw it all into the pan at once, leftover burger grease included.  It looked like this:

The most heavenly smell the world has ever known.
I added a little cheese on top of the burgers and used regular sized potato buns (because I like big buns, and I cannot lie) cut into quarters and toasted.  And don't forget the avocado!

Isn't she cute?


[Not So] Spicy Whiskey BBQ Sliders - Take 2

Take 2 - The Picture Take!  This time I was prepared to wow you all with fancy pictures.

As you can see, I'm no snob when it comes to ingredients.  Below you will find half of a day-old avocado, beginning to brown.  Johnny Trigg BBQ Sauce, which came as a free gift with purchase from Uline, a shipping materials supplier.  A huge thing of ground chuck.  A bottle of Jack that's been sitting around for about a year, only a couple inches of liquid left in it (not enough to enjoy it, am I right?).  And lets not forget the onion.  I love onion.  It has easily become my favorite add-on to every single meal I make.

The stuff.  Most of it, anyway.
This time I opted for oil and butter.  I'm looking back at the recipe and do not see this on there.  Why did I do this?  I don't remember, but it worked.  Gave the burgers a nice crispy outside. 

Butter.  Oil.  Pan.  Heat it up, baby.
Next step, make tiny patties!  They really are adorable.  Like tasty little meat cookies.  Again, salt and pepper these bad boys.  A lot.  Toss 'em in that buttery goodness.


There's that crispy outside.    Cook til they look done enough to eat.  But don't eat them yet!  Put them on a plate while you cook up the sauce.  It won't take long.


Leave all that tasty grease in the pan and throw in about half an onion, chopped to a desired size.  This is where I went wrong the first time.  I didn't let that onion cook before throwing in the other ingredients.  Let it sizzle awhile!  Cooked onions taste better than raw onions.  Once the onions are nice and brown, it's time to add the whiskey.  I used Jack Daniels.  A tablespoon or two will do.


I think you're supposed to let it cook awhile in just the whiskey.  I didn't add enough to let it cook off, so I poured in the barbecue sauce immediately after.  Maybe half a cup, depending on how saucy you like your burgers.


Add the burgers back to the pan to soak a little, slap 'em on a bun, and enjoy!


Your meal is not complete without a side of bunny-shaped macaroni.  

Ta-da!

This is a meal you'll keep coming back to.  I couldn't even stay away 24 hours!  Enjoy!